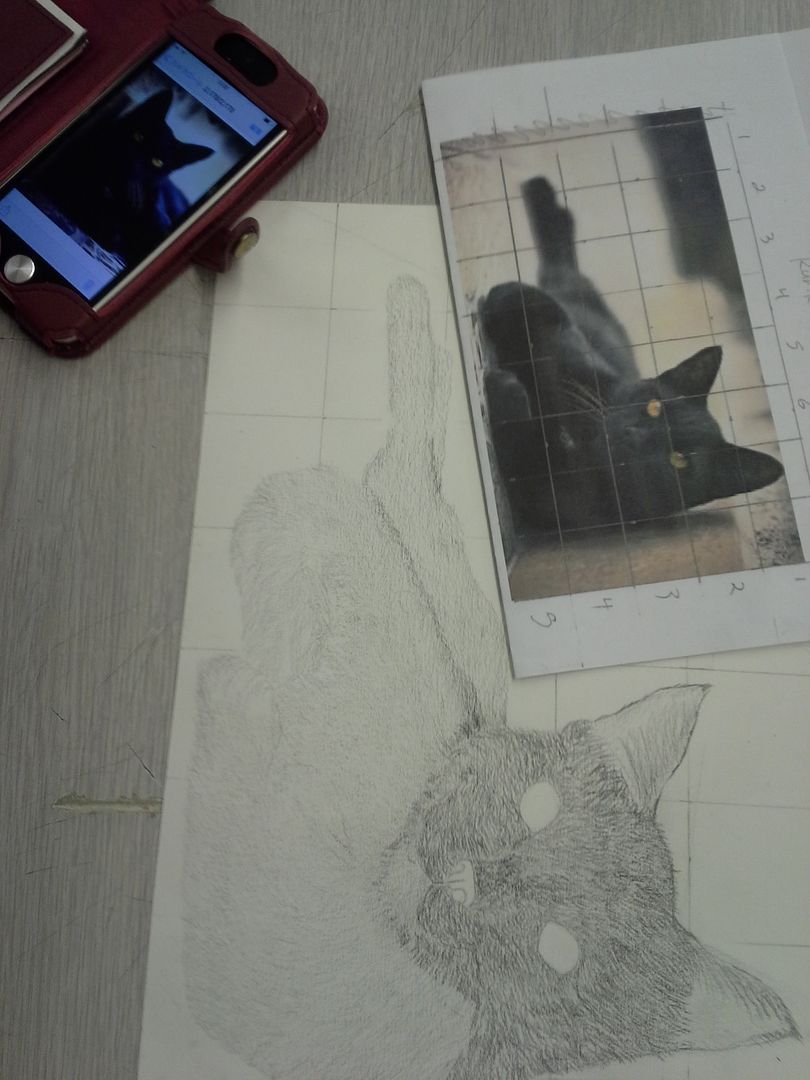
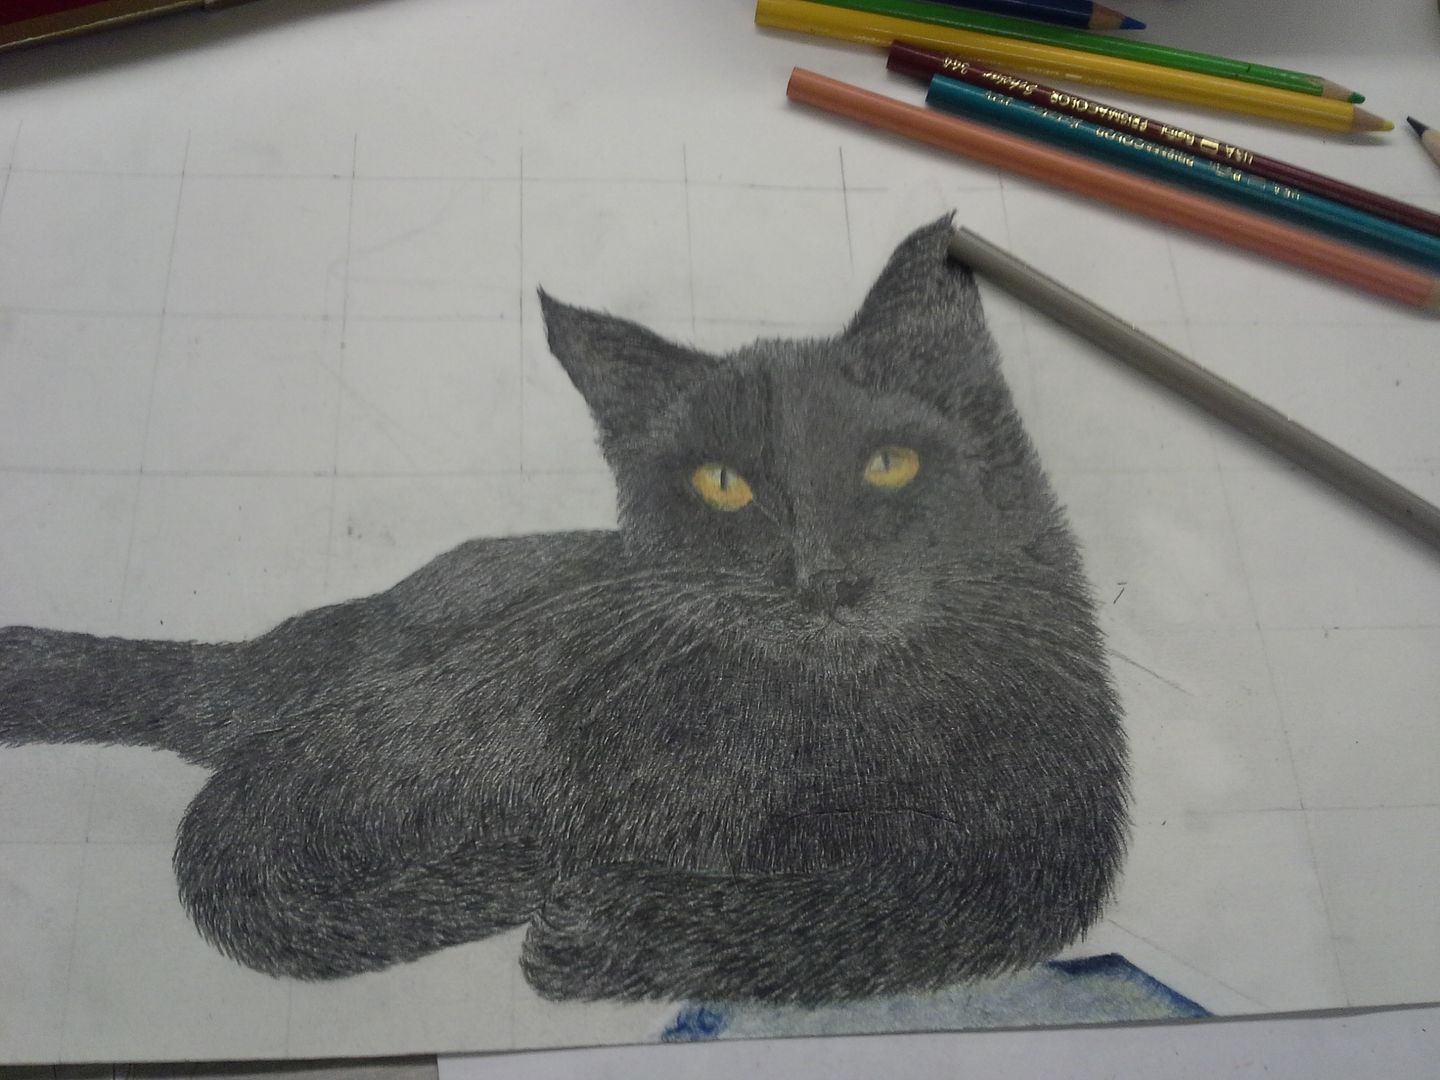
Once you have chosen you animal image it needs to be drawn onto the assigned paper. Depending on the class this may mean on good quality paper or even illustration board. Whatever paper you are assigned - it is Mr.Craig's expectation that you will enlarge the image you have chosen to fit the majority of the surface provided to you.
There are several ways to enlarge and prepare an image for colour work. Please do remember that we are trying to develop a number of skills simultaneously here - drawing, enlarging, proportion, simplification, colour matching and colour overlay. The last two are the most important aspects in this particular project, though it the drawing is inaccurate there will be no hiding that behind even the most exquisite colour work.
I suggest the use of a graphite transfer or (preferably) a grid approach to enlarging the image. The latter definitely requires a ruler and some thought, but it is a traditional skill that can benefit you in the years to come. We will discuss the grid in class and Mr. Craig will be happy to help you figure out grid ratios and if there is a need to crop. Try to stick to whole numbers (such as 2 cm or 1 inch squares) or easy to use fractions (1.5 inch for example) where possible when gridding.
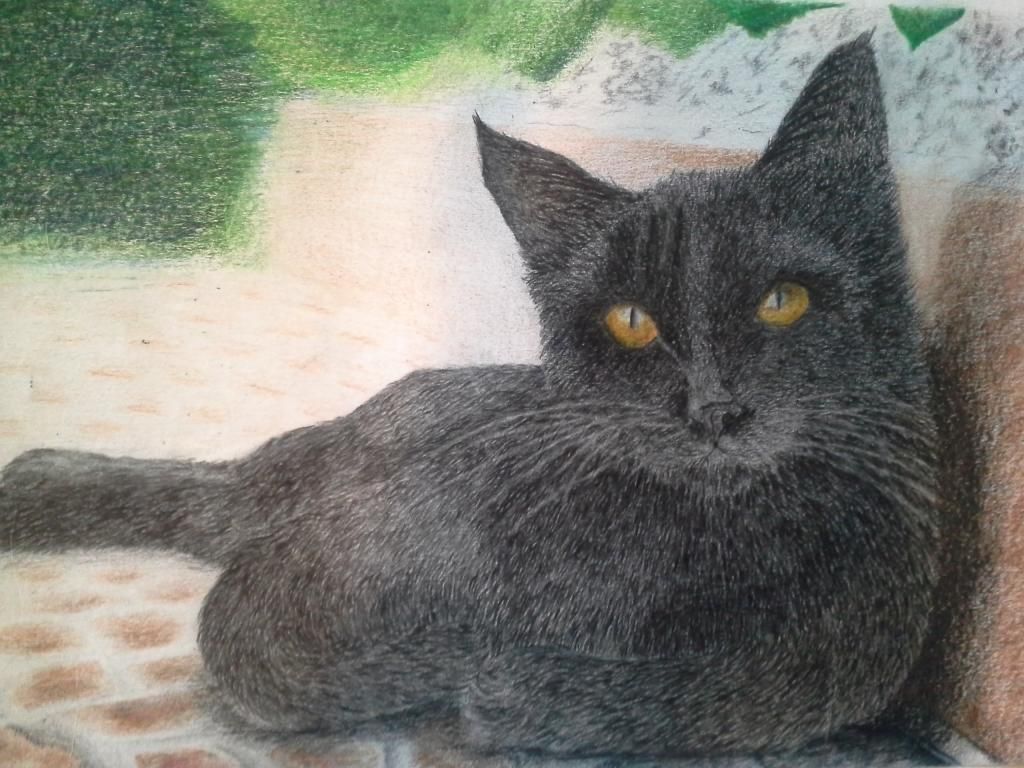
Here is a great example of a complex picture developed using a grid and the proper pencil crayon overlay techniques. Note how the background has been somewhat simplified to create greater focus on the primary focal pint. Just a beautiful piece.


No comments:
Post a Comment