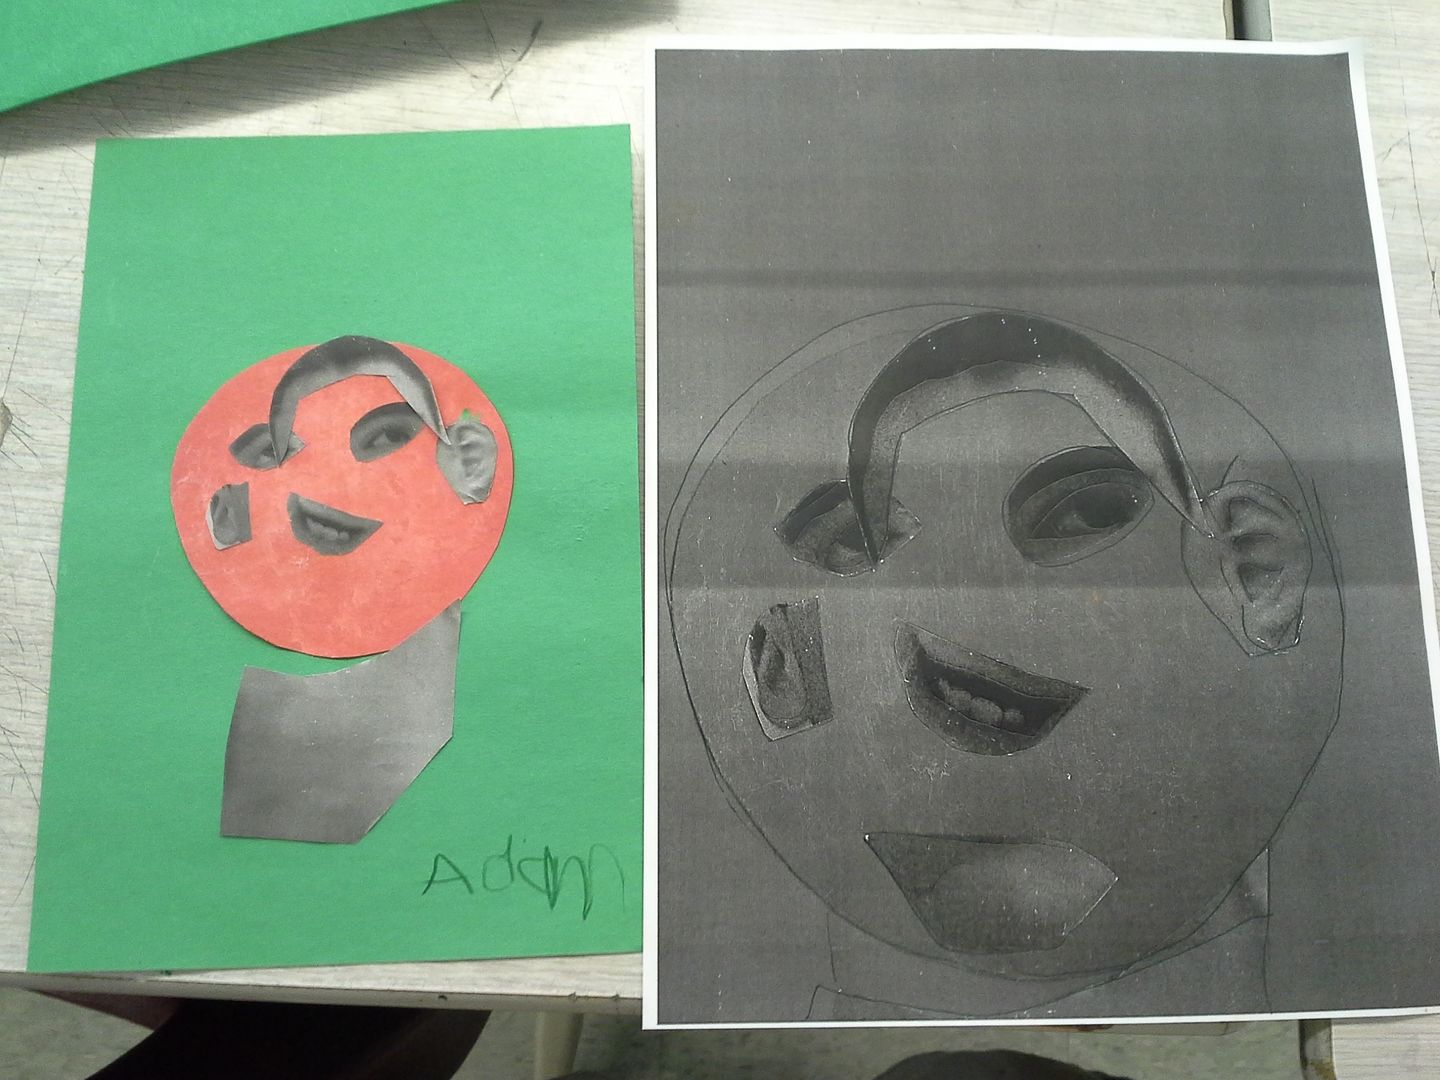
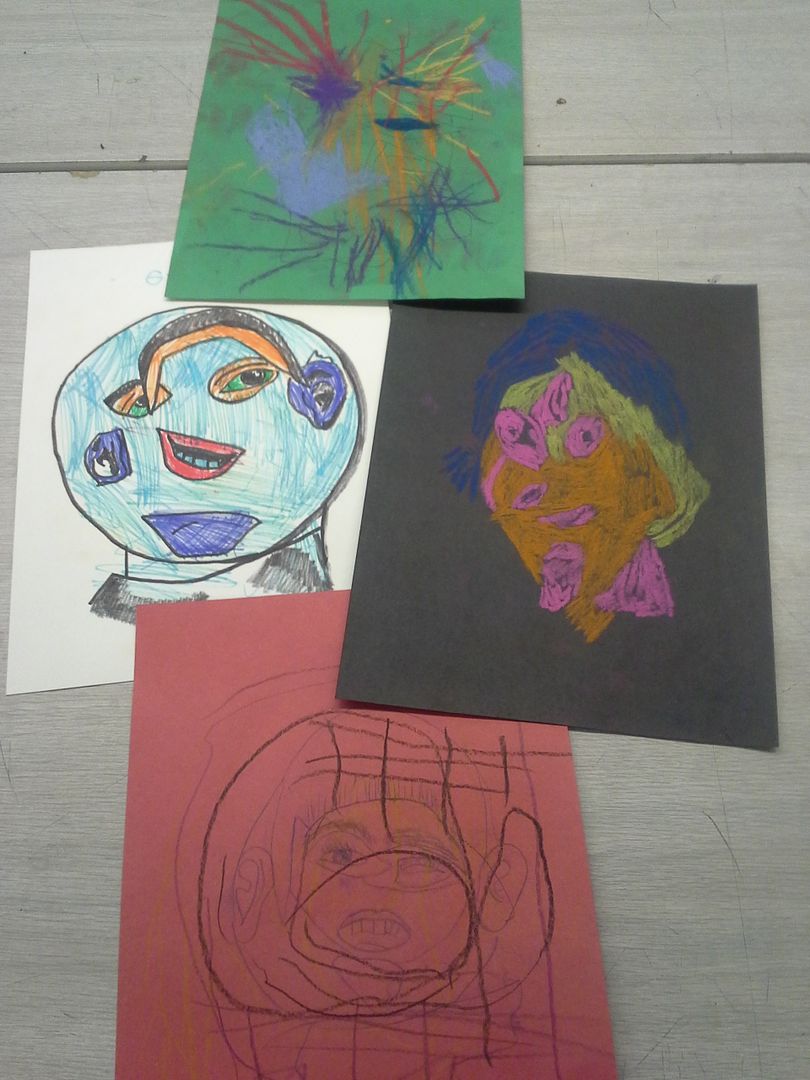
Our next step was to take the pair of collage self portraits and have students choose their favorite to frame for our display and then took the second as basis for a Picasso style self portrait drawing project.
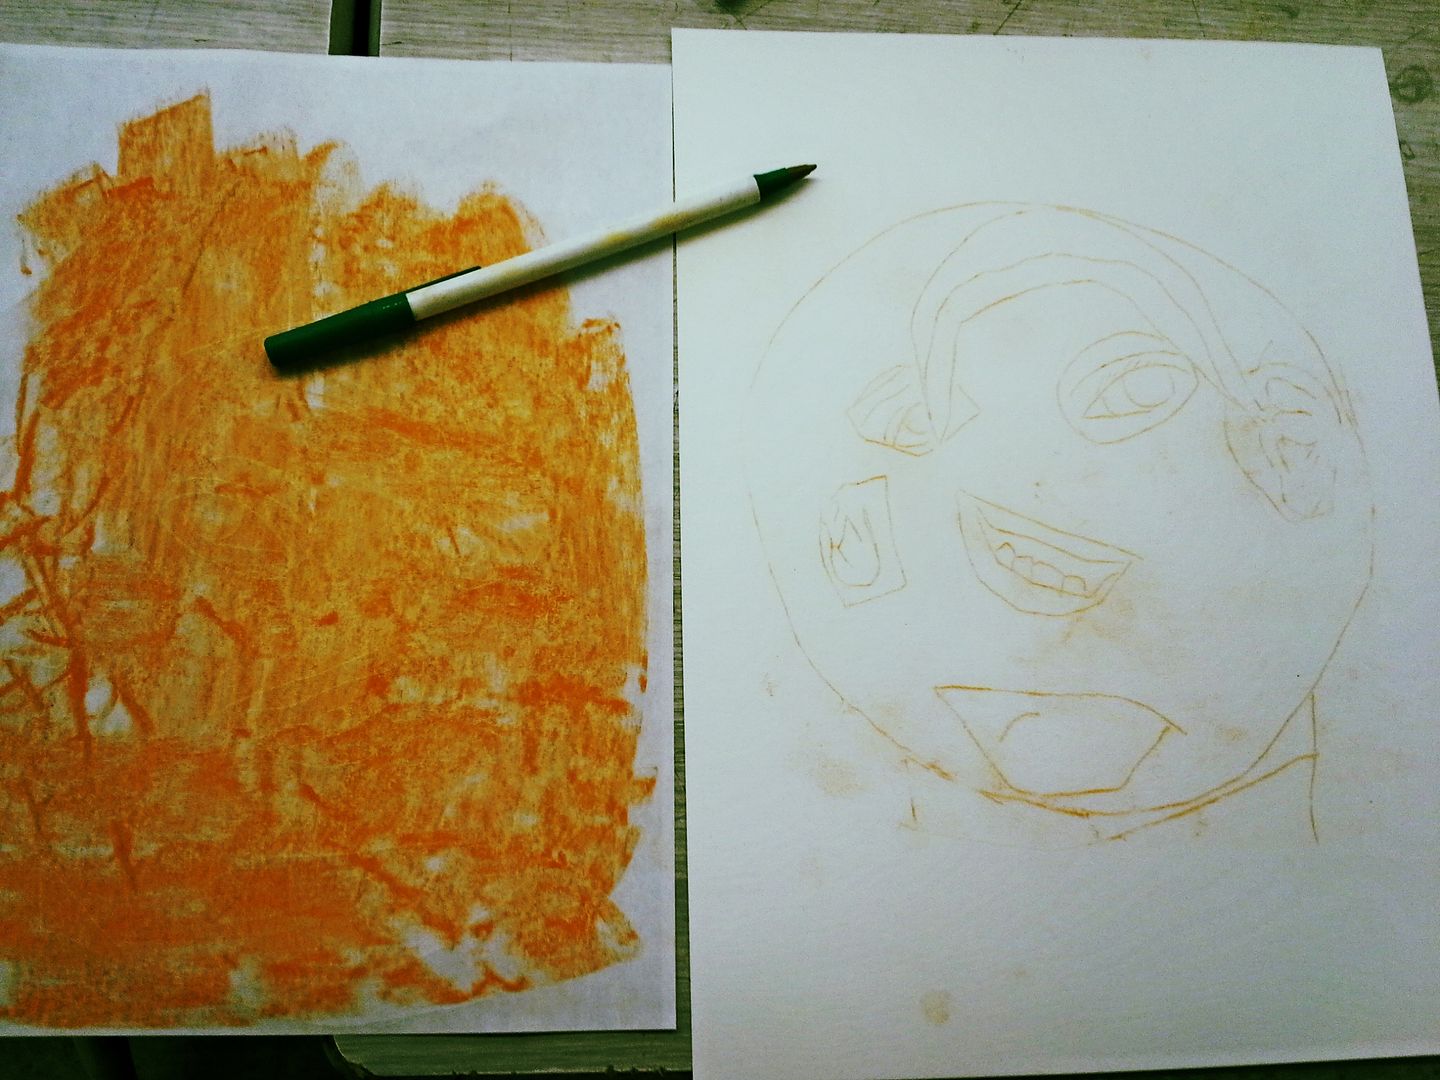
The portrait was blown up on the photocopier and then we used chalk pastel to create a transfer of the outlines to a sheet of watercolour paper or construction paper.
The transference is done by scribbling chalk - or graphite - onto the back of the image, setting it atop the blank page and then drawing over all lines with a pen. When lifted it leaves behind a light line drawing of the original image. This is an old trick taught to me by a graphic designer I know. It is easier than tracing through a window & requires no lightbox or other special equipment.
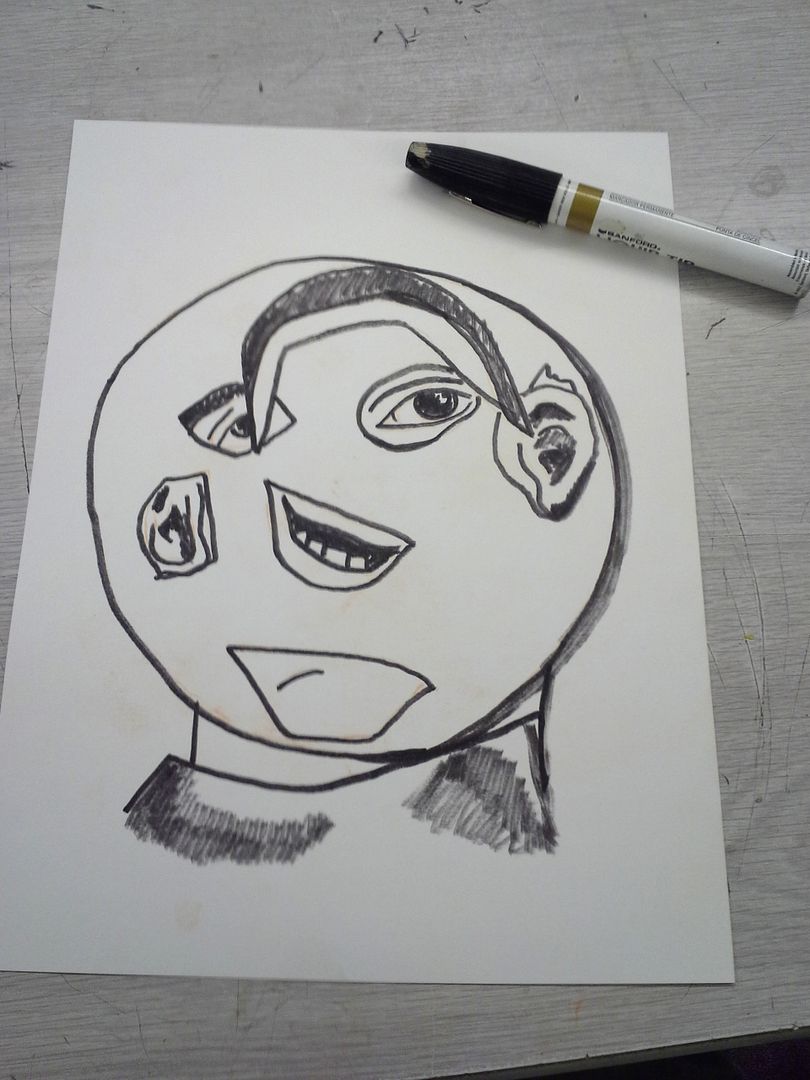
Some students used marker to further enhance their outlines and I think in the future - should I redo this project - I might recommend that for all who are working on lighter coloured papers.
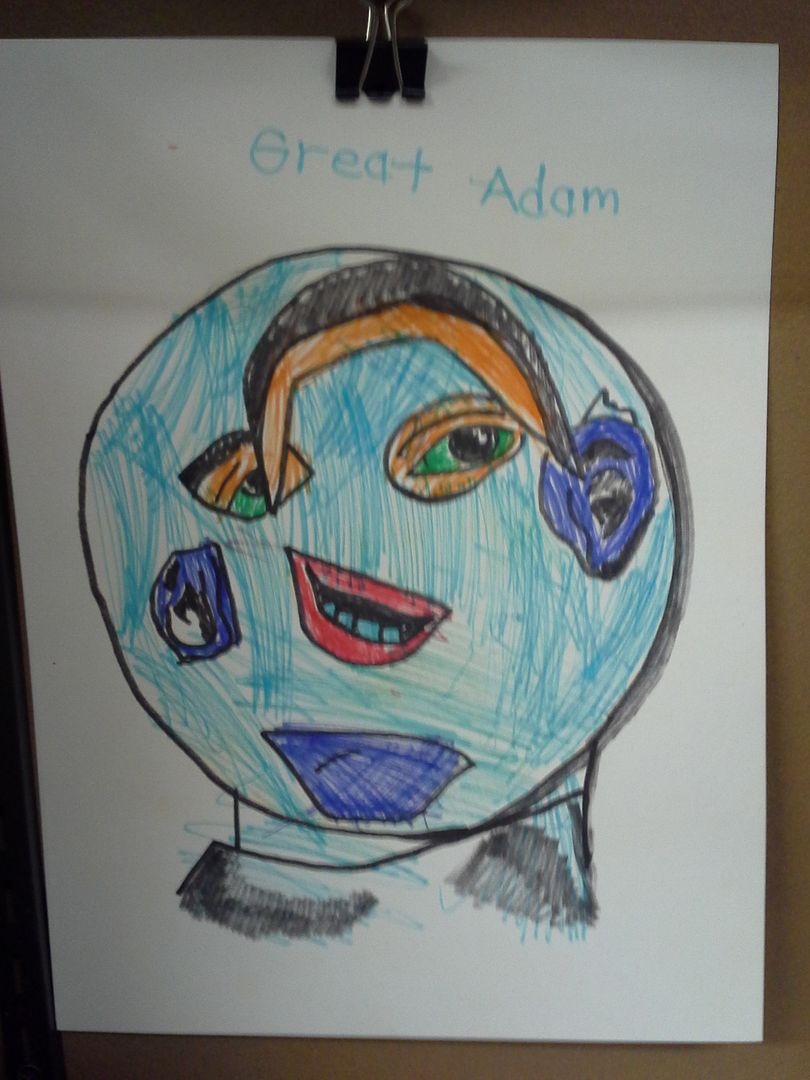
Once the outline was established the students were asked to colour them in using bold colours like those we had seen in Picasso's own work! They could use pastel, marker, crayon or whatever media they like - most opted for chalk pastels that were already handy from doing the transfers and came in strong bright fun colours - a good choice!
No comments:
Post a Comment