WELCOME TO THE NCC ART ROOM

!!!! WELCOME TO THE NCC ART ROOM !!!!

Hi there! This is a new experiment Mr.Craig is going to try as an even easier way of bringing you examples of student work and to keep his image set organized and useful. Let me know if you are using it, if you find any problems or dead links and if there is anything you would like to see!
Showing posts with label NAC10. Show all posts

Tuesday, October 1, 2019

Pacific Northwest Coast Design Project


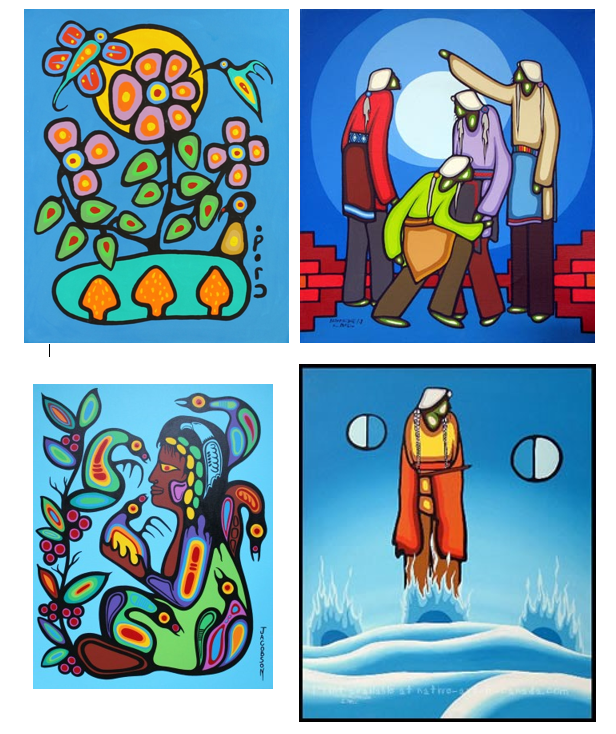
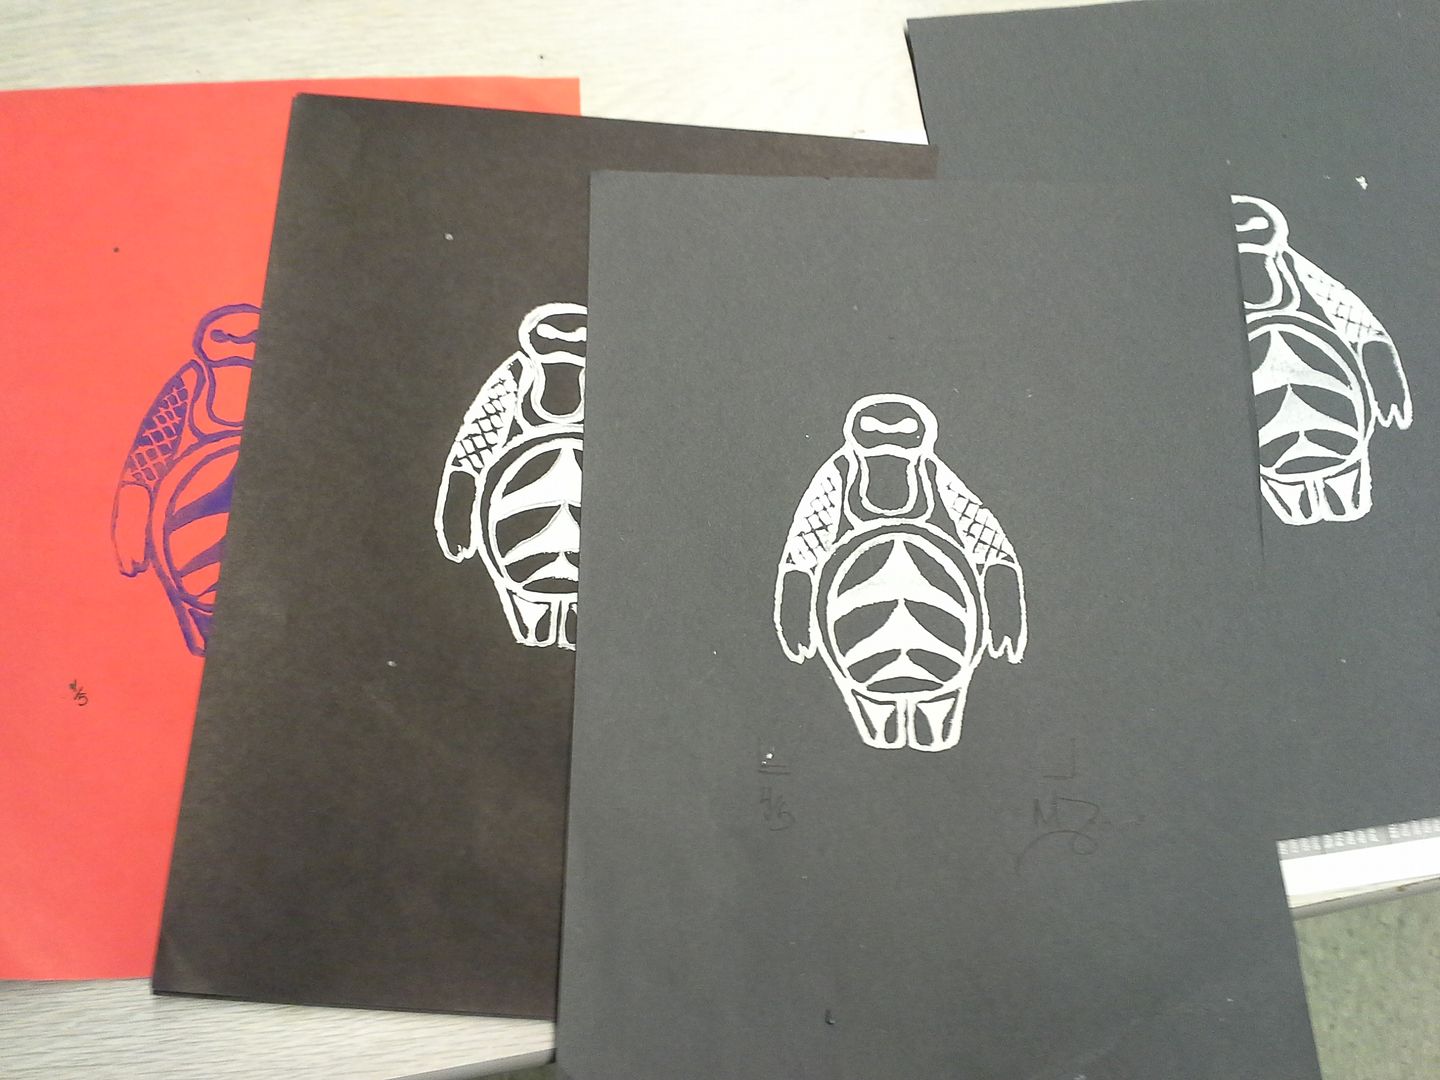
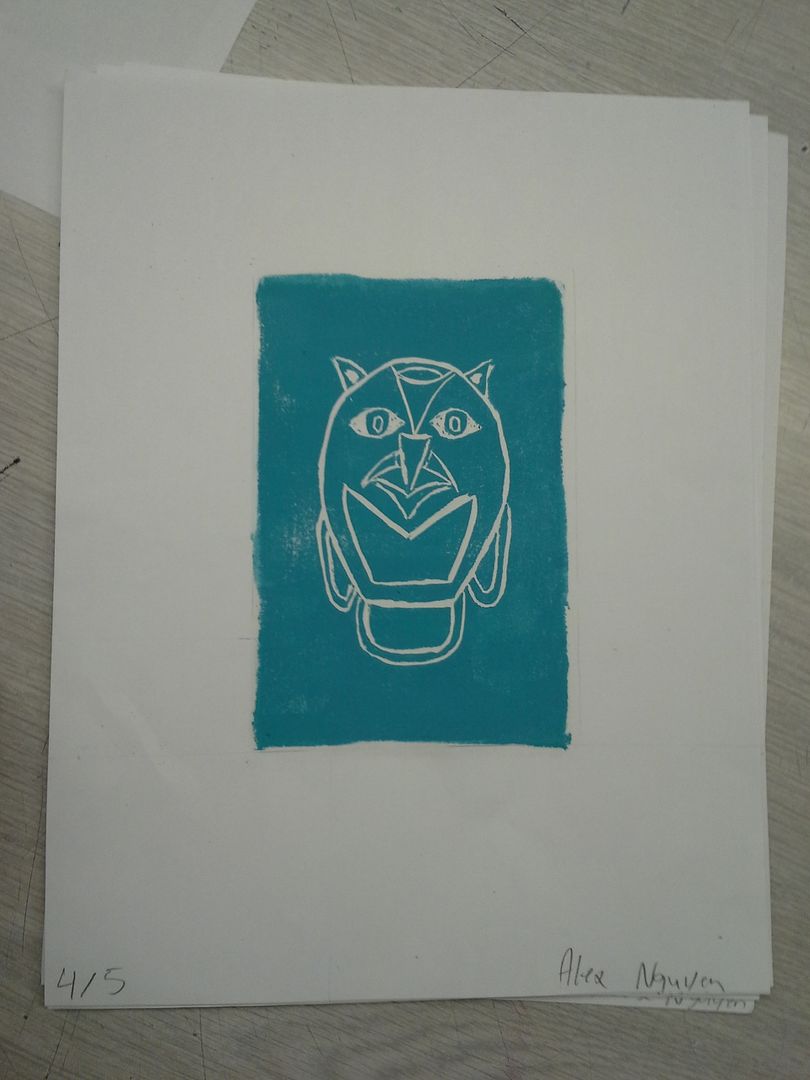
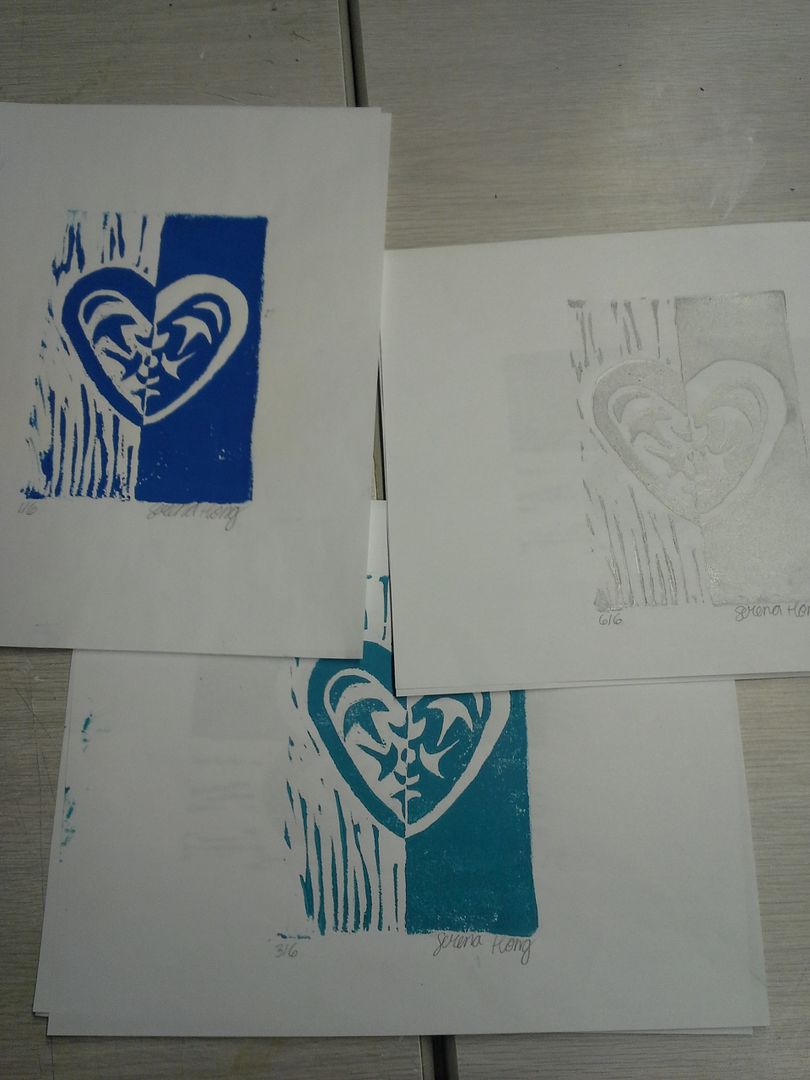
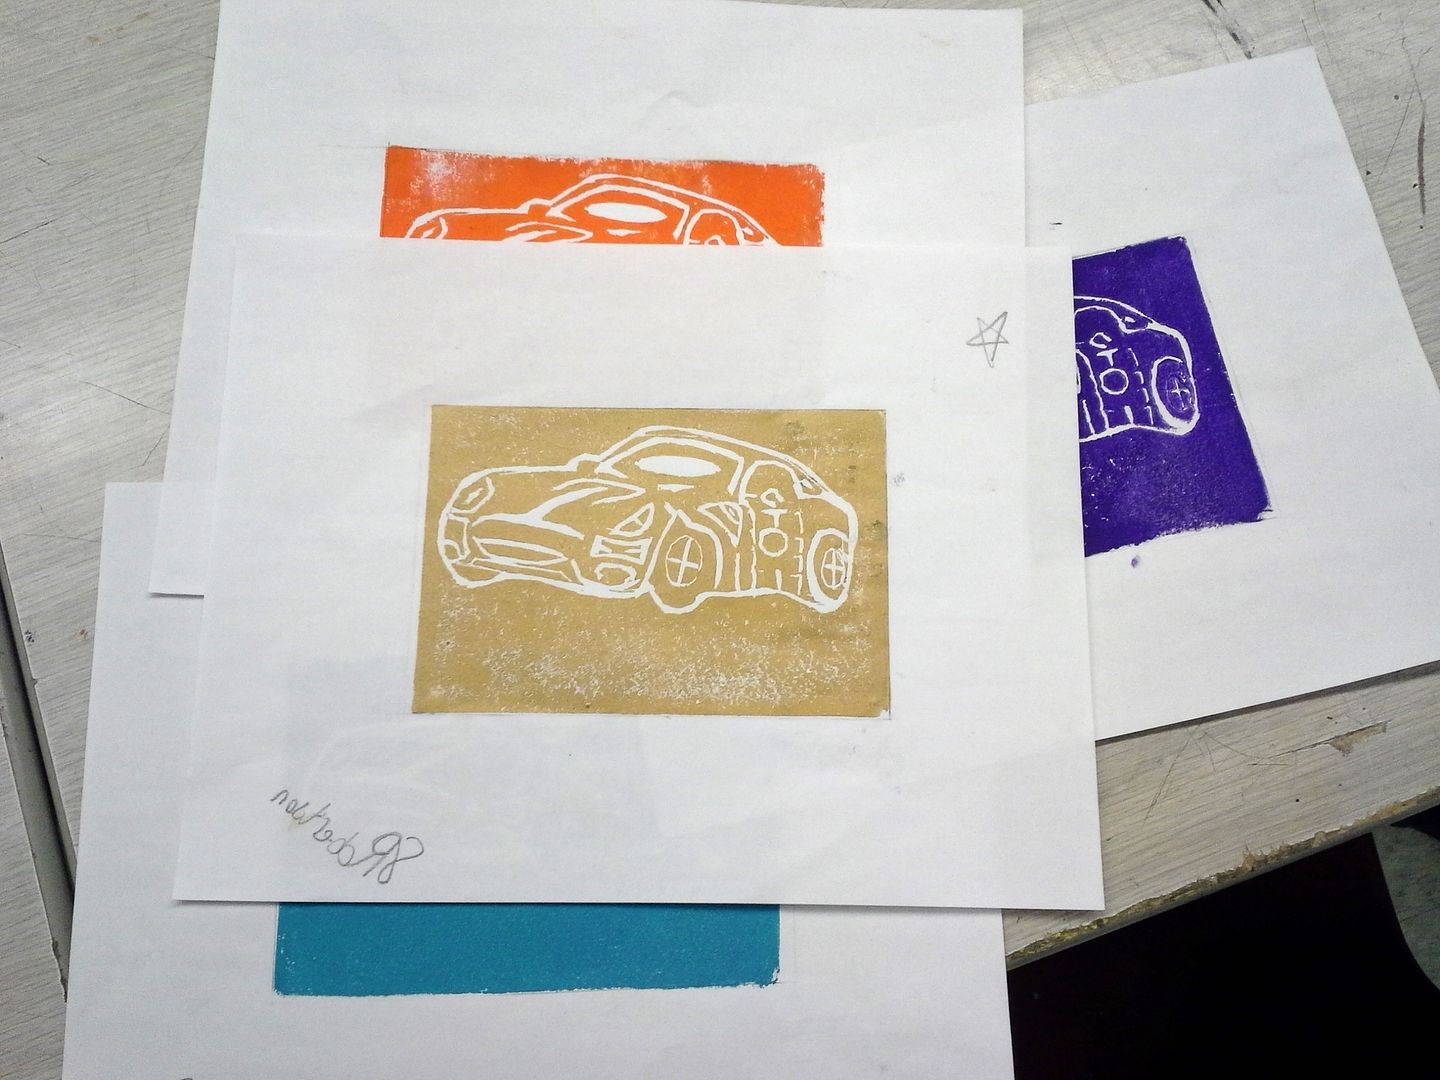
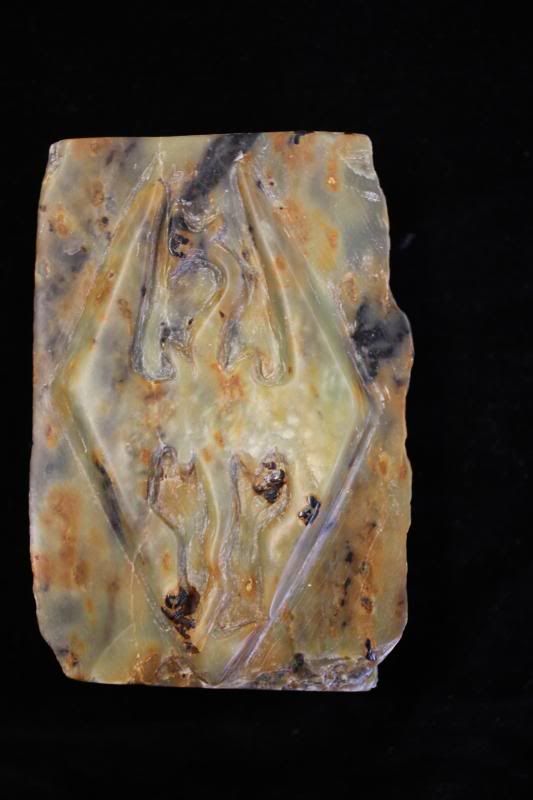
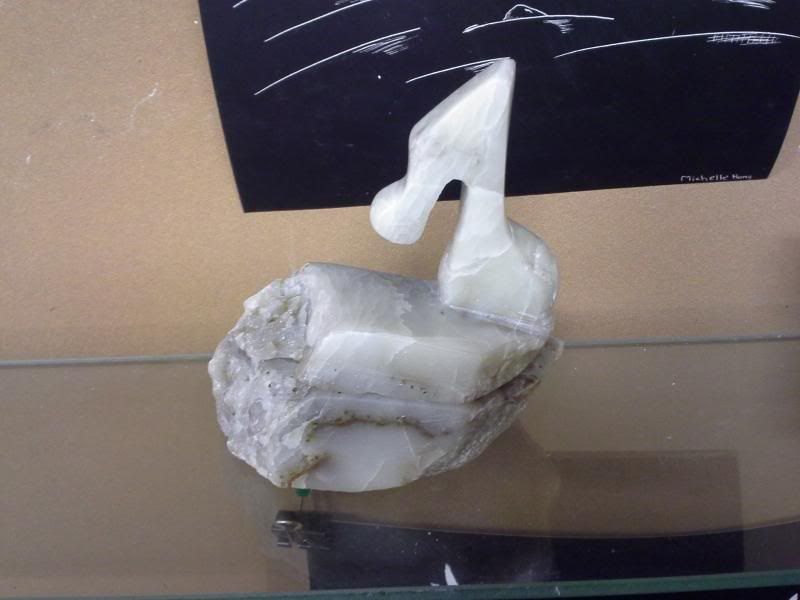
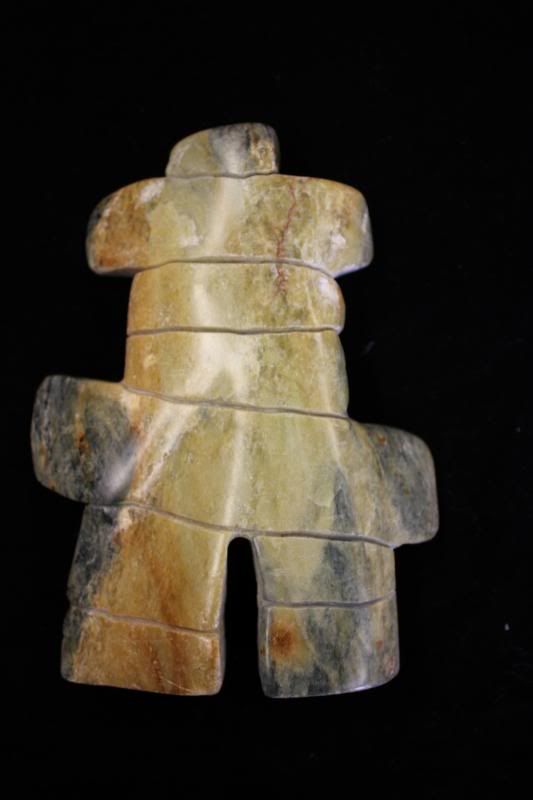
We will be creating a Lino Cut print utilizing the forms seen in Pacific Northwest Coastal art. This will draw together many of the themes and artistic concepts that we have studied across this semester - abstraction, symbolism, contrast, positive/negative space, contour/outline, colour, repetition, and the synthesis of examples/influences/inspirations into original forms.


 You have been given a great reading package describing the traditions and cultures of this region as well as a plethora of design related information. Read this.

Using our questioning hierarchy that we have been practicing across this semester create 3 questions based on the readings to submit to Mr.Craig. This may be submitted physically or digitally by emailing to nccart@gmail.com.

Complete the animal abstraction exercise using one of the photographs provided in class as the basis. Compare with your peers. Consider what parts are most successful in each of your works.

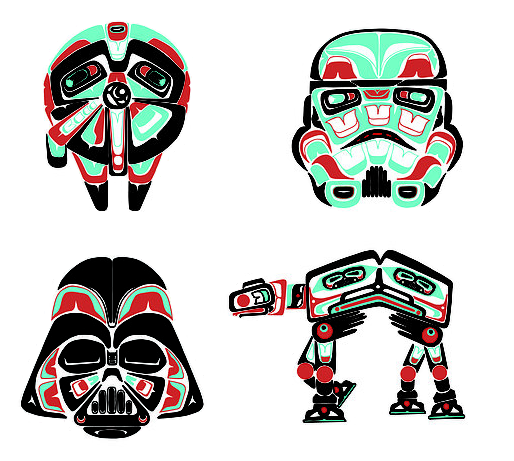
Choose an image/design to use as the basis for your explorations of this style. Subject is open and designs may be traditionally based or totally radical (meaning you can make pretty much whatever you want - have fun in your explorations!!!!).


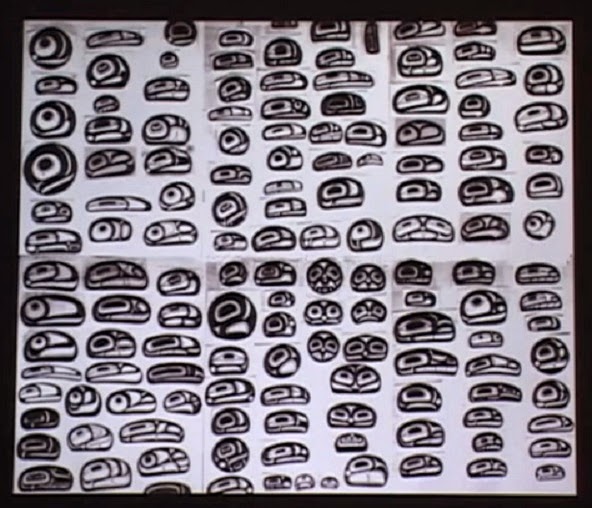
Ensure that you really focus on Formline, Ovoids, "S" Shapes, "U" shapes/Crescents, and Trigons - these are the formal components of this style and need to be well represented in your design. Bottom line this is going to call upon you to really THINK and PLAN your designs (*GASP*). I wish you the best of luck and recommend a great deal of trial and error working through your plan and reworking/editing it until you are genuinely satisfied!

Use the process and references found in your reading package to help you work through your design - and use the internet and class books to inform your decisions.

Here are some videos to help you work through designs and forms:

http://youtu.be/IS6UeBsZ6W0?list=PL7wkHlpOVM5uYuIEUUkGdqU1CKCpTn-NG

http://youtu.be/w_--smX0wy0?list=PL7wkHlpOVM5uYuIEUUkGdqU1CKCpTn-NG

There are also several short videos of internationally renowned artist David Boxley teaching Formline and design concepts - here are a few:
http://youtu.be/vntooi-awFs  http://youtu.be/366v2EQEyMg  http://youtu.be/tmytSw3QZEs


This one is a little long (70 minutes) but SUPER good! I HIGHLY recommend taking the time to watch it.
Formline: An Evolving Art by Bill Holm   -  http://youtu.be/lQZPNbDRg_w


REMINDER: YOU MUST GIVE BACK YOUR READING PACKAGE
AT THE END OF THIS UNIT!!!!!

Thursday, November 19, 2015

WIP Exploring Identity: 3 - Silk Screening for yourself

The second part of this unit will involve serigraphy, or as it is more commonly known, silk screening.

This portion will be based on process alone and will form the basis for new learning skills entries - it will not be evaluated based on the product as there are too many variables that can cause small problems even when the process is meticulously followed.

The materials requirement is as follows:

1 T-shirt - preferably a plain non stretchy cotton shirt. The darker the colour the more restricted you will be in colours of ink that will print on your fabric. Alternately a pillow case, hospital style pants sweatshirt or other smooth fabric surface may be used - DO listen carefully to the in class discussion re:

1 Design stencil - we will discuss means and methods for producing these from either original drawings or by modifying existing images. Designs must be full contrast (ie black and white).
HINT: Team and company logos are often good places to look for sensible methods of constructing good stencils.

I will provide a demo on how to manipulate pictures and photos using the software readily available to us at the school to help you on the path to stenciling. Drake on the right is a good example of this. (HINT : Strong directed lighting makes it easier to do!)

The intent is to choose and explore ideas that have meaning to you or bring you pleasure. Each project is a personal choice and creation. The only limit is that no two people in the room may choose the same image/design to work from!

Below are some excellent examples of student work!


Friday, October 16, 2015

Pacific North West Coast Heroes!

Something cool I came across - thought it might appeal and give some additional insight into the versatility of this incredible form language!

Enjoy!
~ Mr. C.

http://www.fastcodesign.com/3025250/comic-book-heroes-get-a-gorgeous-native-american-makeover

http://www.fastcodesign.com/3025250/comic-book-heroes-get-a-gorgeous-native-american-makeover

Friday, October 2, 2015

Exploring Identity: 1- Symbolic Tribal Tattoo

This is the first of a series of projects that will deal with our understanding of identity and will touch on one of the key challenges and clear strengths that can be found in contemporary Native Canadian society.

From your handout:

Tattoo Assignment

Tattoos have been around for thousands of years. Over the years, they have been used to symbolize many different things in many different cultures such as ornamentation, punishment, recording/documenting history/stories/events, and even as acts of defiance.

PART 1: You belong to a tribal culture.  As a ritual for their coming of age, young people are initiated into adulthood by having tattoo etched in a band around their left biceps.

You are the tribe’s tattoo artist/designer. Design a tattoo, band (style at least 5 inches long) for an individual about to go through this ritual. The tattoo must be symbolic to the area they live in and their lifestyle. NOTE: this need not be connected to any specific group you have already studied - this is a chance to be inventive, to think defining about aspects of peoples lives, and cultures. The group may be entirely made up or reflective of something in the real world or even popular culture (Na'vi anyone?)
THIS TATTOO IS TO BE DONE IN POSITIVE/NEGATIVE ONLY – full contrast – no shading or extra colours! Though you can make use of some techniques similar to those in your scratchboard if you like please do keep it within the aesthetic realm of tattooing. When you finished doing your design in pencil I will provide you with special pens and ink to finish the project! In your Sketchbook write a brief, written description of how your tattoo design ties into the ritual and the daily life of the tribe. Include specific details regarding symbolism and lifestyle. Use your previous research as an inspiration.

Here are some tattoo designs from the internet that I have also put on your handout. What could the symbols mean? How do the artists use contrast? What types of techniques do you see?:


Below I will add examples of student projects to challenge and inspire you!

Pacific North West Coast Printmaking Research Day

Start here:

https://www.youtube.com/watch?v=1bUesL4MDas

The above video is very important in explaining the overal process. You NEED to watch this please.
Remember that the Blocks you will be using are 10cm x 15cm

a block carving in process.
Next look back at this:

http://nccart.blogspot.ca/2014/12/pacific-northwest-coast-design-project.html

This will give you some info about the project and links to videos etc. about PNWC design. We looked at this briefly in class but I would like you to revisit it


Don't forget the Salish forms we discussed in class that are not covered by the hand out!
The Triskele (curved three pointed form),
and Crescent are important Salish parts of the form language that can add beautiful flow and pattern to a design.

Here are some examples of pieces done by students in previous classes - scroll all the way down to get the last of the info ;)

Baymax reimagined
Owl

I like the inclusion of textural marks in this one


Now your job is to come up with your own design. Keep in mind that the highest marks result from originality and adaptation of design - here is the rubric we looked at yesterday to reinforce your understanding :
Click to make it bigger

Monday, March 2, 2015

USEFUL FORM AND SHADING TUTORIAL!


Couldn't resist posting this link as I think it will be very helpful to some of my new/junior students in particular:

http://juliannakunstler.com/images_art1/3Dforms.swf

Not quite life drawing - pose portfolios

It has long been believed that working from Life is the best teacher, when it comes to learning to draw the human form. Most post secondary institutions will offer course in life drawing and anatomy for the artist. In the high school setting we are certainly limited by access and expense, so finding additional ways to supplement your usual drawings of the same forms (often your friends and family) sitting on the same furniture or having to pose for you in ways and outfits that suit your needs can be almost as challenging as getting them to help you in these ways in the first place.

While I don't have the perfect answer by any means I would like to suggest a couple of websites than can give your drawing a little boost and can assist you in figuring our proportions and forms or push you to develop strong skills for quick pose sketches (Super recommended if you are going to be doing this type of thing post secondary....)

Senshistock http://senshistock.com/index.php - is a great one to start with. The figures are non nude but wearing form fitting clothing so that figures and musculature are still relatively clear.  They have some programs and collections of poses for sale but also have a number of free practice forms in their "sketch section". When you click on this it sets up a timed posed image for you to draw. When the timer runs out it moves to the next image - just like a live session. You may adjust the length of the timer, skip images and pause it in its entirety. The pictures use a variety of lighting, expressions and - in contrast to many sites - a lot of props. My only real critique is that there are far more images of female figures than male. Overall a great site with some really useful images and an easy interface.

Pixelovely - http://artists.pixelovely.com/ - another great one with a slightly more complex but still really user friendly interface.  This one gives you a choice of figure drawing, animal drawing, hands and feet or portraits an expression. The interface lets you choose between specific genders (or all/random), clothed or nude and two styles of session - standard or class. A class set will give you short timed poses first working into longer poses with breaks actually built into the time! Pretty awesome. A great variety of figures and forms coupled with a lot of choice in parameters make this an excellent resource.

Those should really help get you started with gesture and form!


Look for future updates/reviews for: Quickposes.com & posemanicas

Wednesday, September 10, 2014

Intro Pages

Here are some intro pages completed by
current and former students:


Can you spot the key problem with this one?


First Nations of Canada part1: Research


Day 1.   Pre-reading for context
  •  Pre-reading - Textbook – pages 244- 253
  • Complete all vocabulary and questions 1-4 on 253 and 1-5 on 263
Day 2: Regional Studies

  • Brief recap. Refer to map in textbook and the concept of organizing groups along cultural/linguistic lines. 
  • Students will be asked to choose one of the groups listed (or these may be assigned to ensure that all groups are represented)
 
Students will complete a two paragraph research project. They will be given 2 periods of class time after which the remainder must be completed for homework. They will be pointed towards http://firstpeoplesofcanada.com/  as an excellent starting point though they must use at least 2 more sources.
 
  • Paragraph 1 deals with explaining a few key fundamentals about the identity of a group:  Who? Where? Noteworthy individuals (artists)? Cultural features?

  • Paragraph 2 is a discussion just of the Art of the people and region: What were some of the major styles/media traditionally used and defining features of the art/style? Dominant symbols/meaning should be covered here. Also note whether the art forms of this region are generally religious or secular (or if both are well represented).

  • Part 3 –> include 3 clear pictures that display examples of artworks from this region.

This document should be typed.
 
I request that the digital file be emailed to nccart@gmail.com so that I can collate the best of the information and examples to form a single document that will be posted for everyone to use.